PDF PRO INSTALLATION GUIDE Professional Edition
Complete Step-by-Step Installation Instructions with Video Guide
1 Prerequisites
What You Need Before Starting
Before installing PDF Pro, ensure you have the following ready:
- Domain Name - Registered and pointing to your hosting
- Web Hosting - With PHP and MySQL support
- Control Panel Access - cPanel, Plesk, or custom panel
- FTP Client - FileZilla, WinSCP, or File Manager access
- Database Credentials - Ability to create MySQL database
2 Server Requirements
PDF Pro requires the following minimum server configuration:
| Component | Minimum | Recommended | Status |
|---|---|---|---|
| PHP Version | 7.4 | 8.0+ | Required |
| PHP Memory Limit | 128MB | 256MB+ | Required |
| PHP Extensions | PDO, GD, MBString | All enabled | Required |
| MySQL Version | 5.7 | 8.0+ | Required |
| Upload Size | 10MB | 50MB+ | Recommended |
3 Step 1: Upload Files
Download the Package
Download PDF Pro from your CodeCanyon downloads page. Look for the latest version.
Extract the ZIP File
After downloading, extract the ZIP file on your computer. You'll find:
/pdfpro/           # Main application files
/documentation/    # Complete documentation
/licenses/         # License files
/readme.txt        # Quick start guide
Upload to Your Server
Upload all files from the /pdfpro/ folder to your web server's root directory:
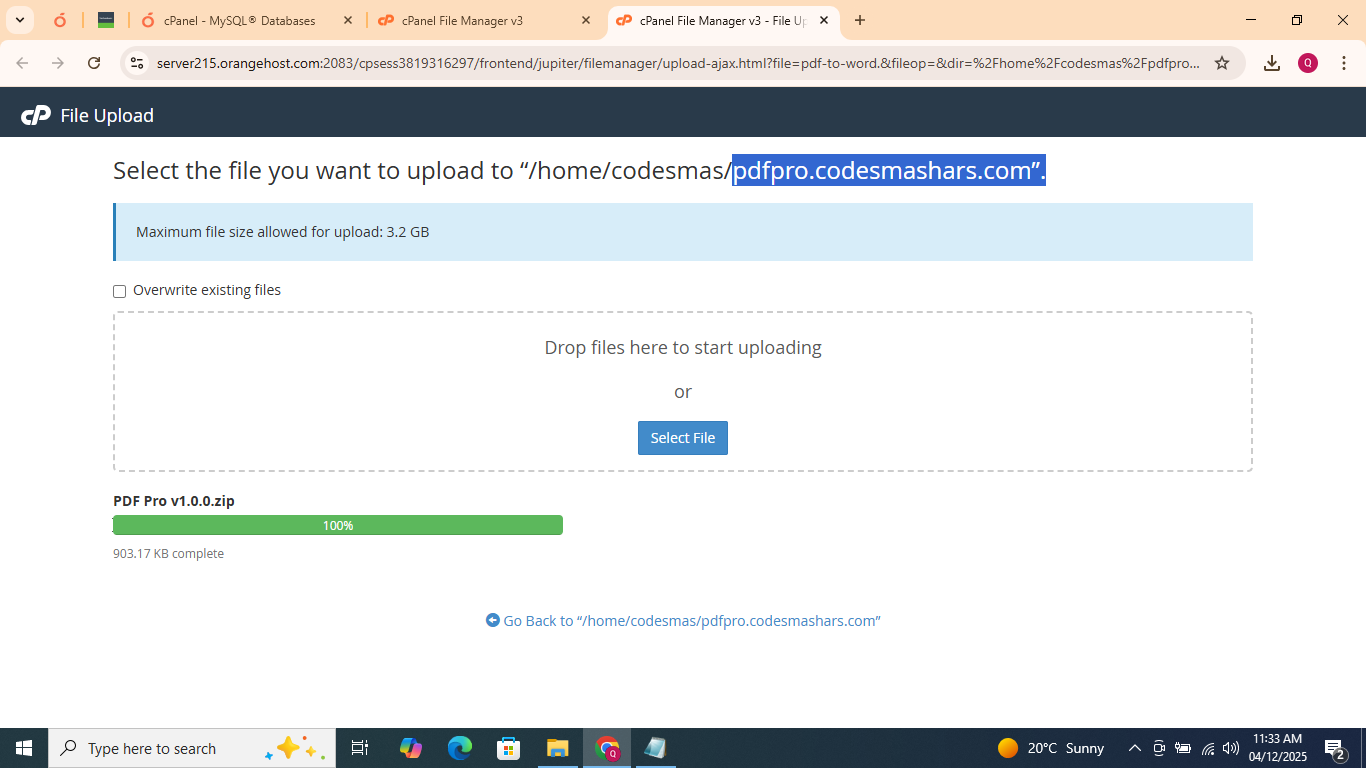
Upload files to public_html or www directory using FTP or File Manager
public_html or www directory. Contact your hosting provider if you're unsure where to upload.
4 Step 2: Create Database
Access Your Database Manager
Login to your hosting control panel and find MySQL Databases or phpMyAdmin:
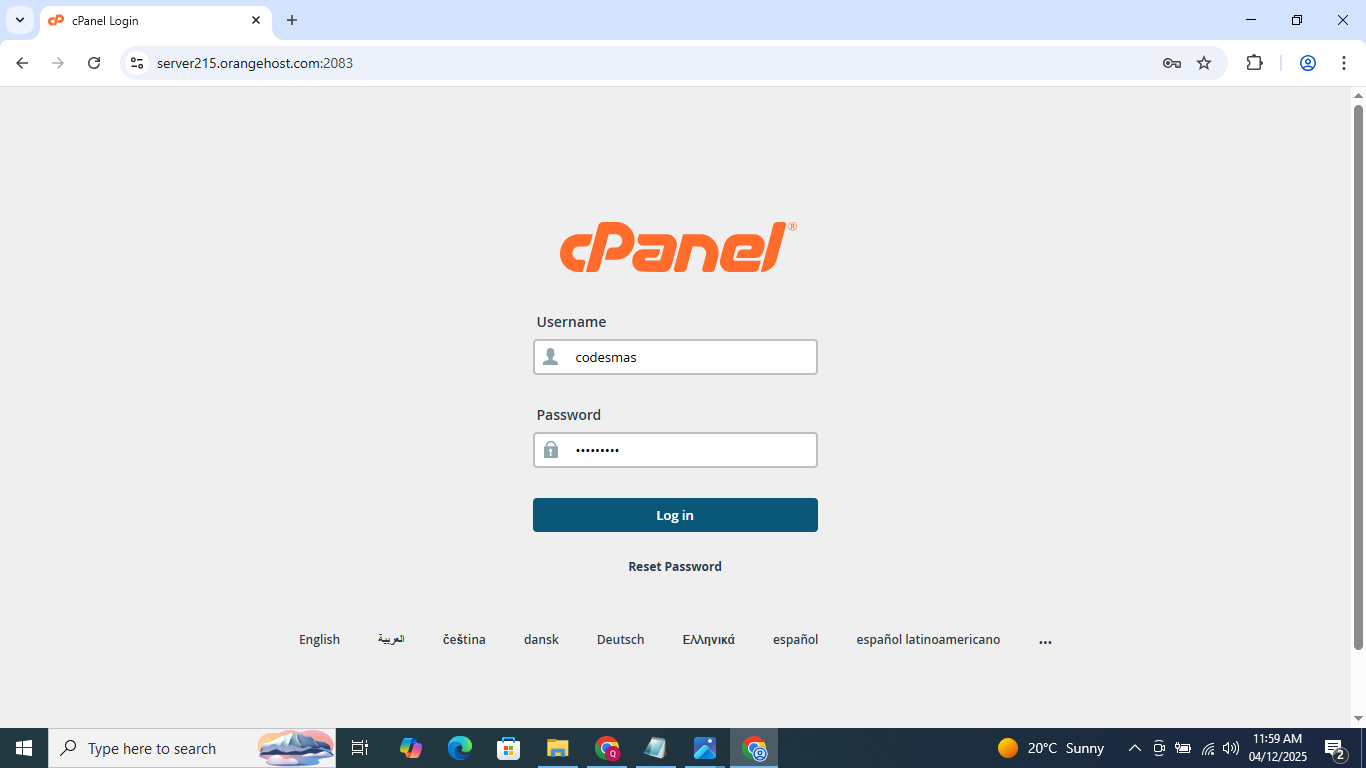
Navigate to MySQL Databases in your hosting control panel
Create New Database
Create a new database specifically for PDF Pro:
Database Name: pdfpro_db
Character Set: utf8mb4
Collation: utf8mb4_unicode_ci
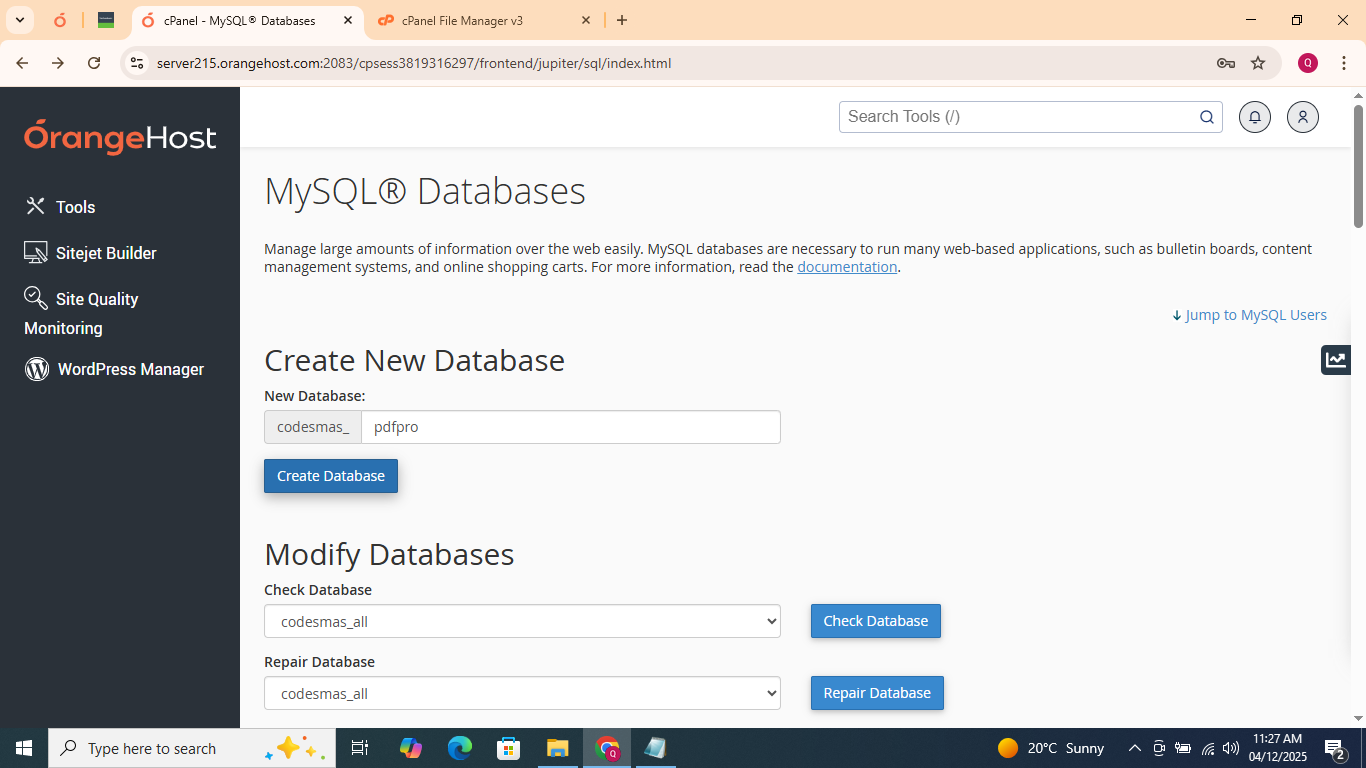
Create a new database for PDF Pro
Create Database User
Create a new database user with a strong password:
Username: pdfpro_user
Password: StrongPassword123!
(Use a password generator for maximum security)
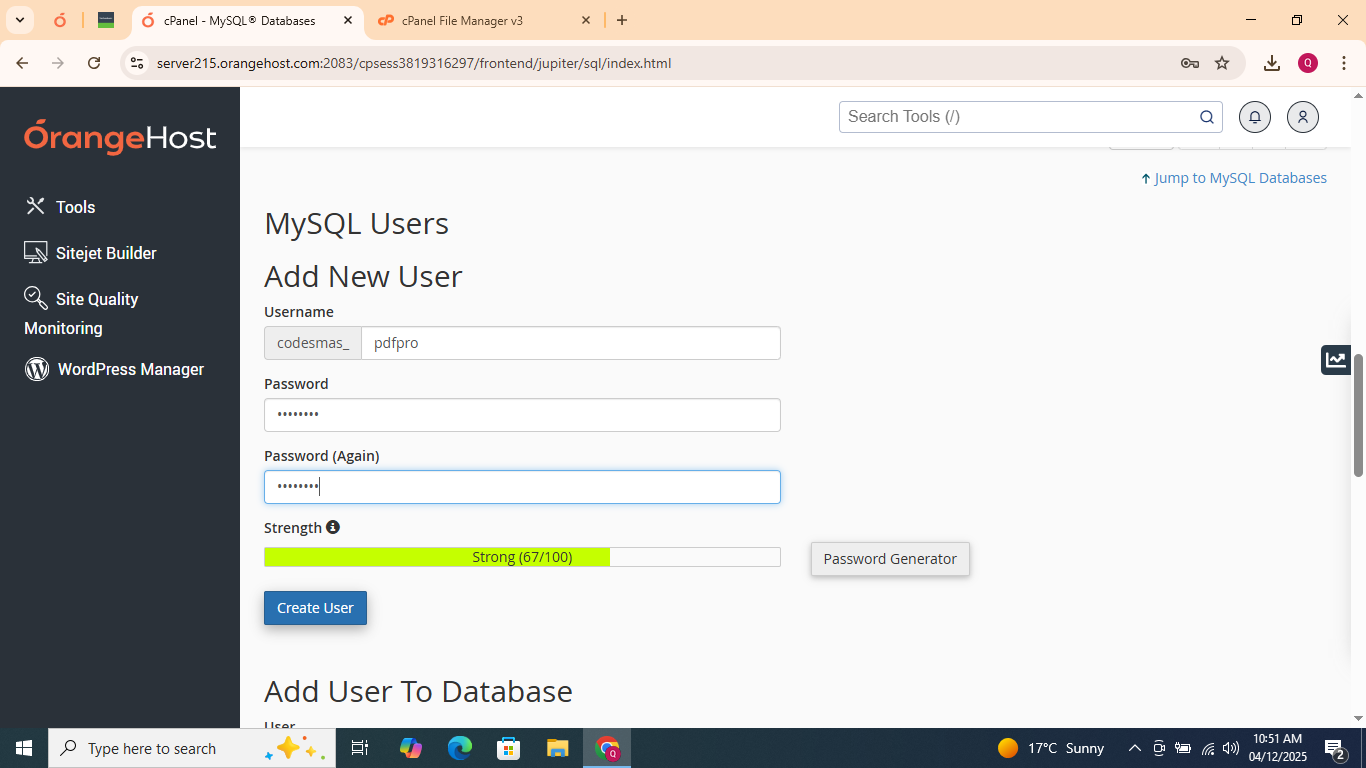
Create a new database user with strong password
Assign Privileges
Add the user to the database with ALL PRIVILEGES:
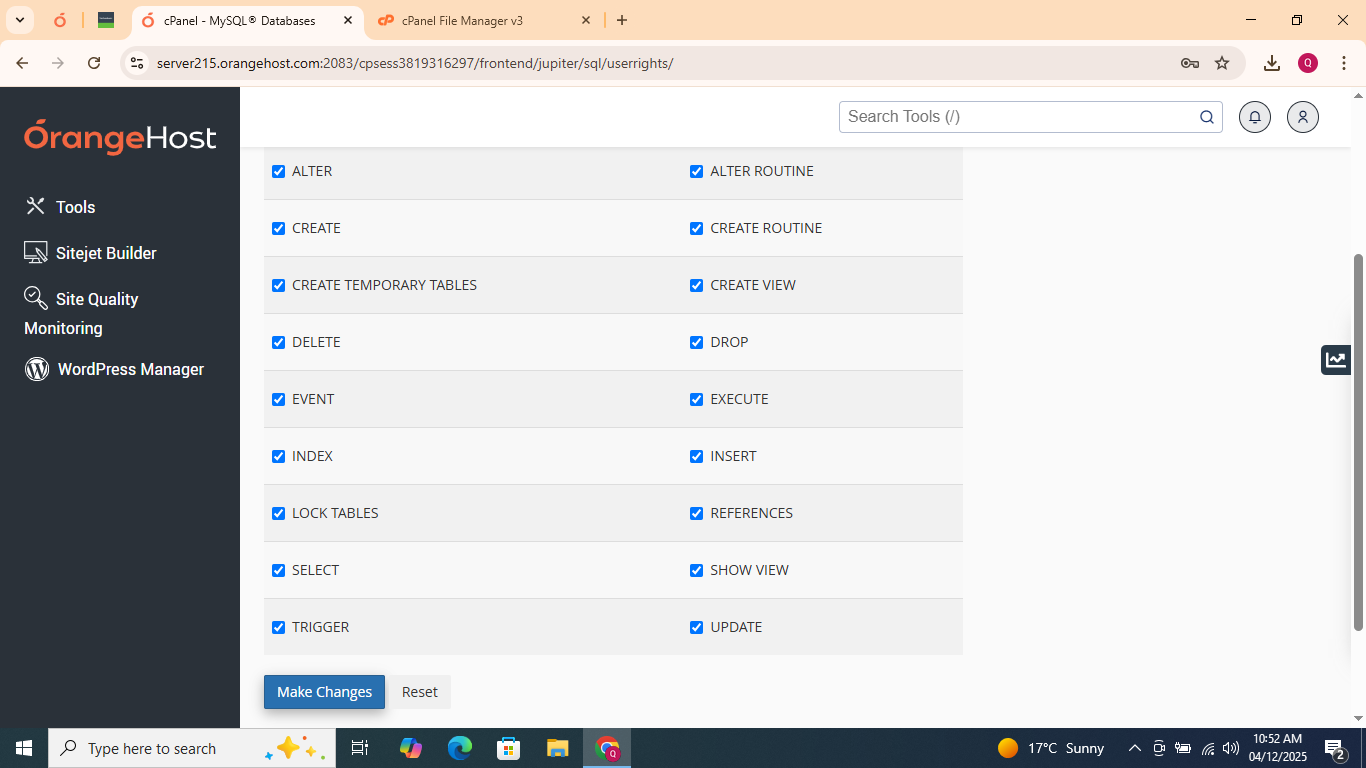
Grant all privileges to the database user
5 Video Installation Guide
Watch Complete Installation Video
Follow along with our step-by-step video tutorial for visual guidance.
6 Step 3: Start Installation
Access the Installer
Open your web browser and navigate to your installer URL:
https://yourdomain.com/installer/
Or if you haven't set up SSL yet:
http://yourdomain.com/installer/
Welcome Screen
You should see the PDF Pro installer welcome screen:

PDF Pro installer welcome page
7 Step 4: Database Configuration
Enter Database Details
Fill in the database information you created earlier:
| Field | Value | Description |
|---|---|---|
| Database Host | localhost |
99% of shared hosting uses localhost |
| Database Name | pdfpro_db |
The database name you created |
| Database Username | pdfpro_user |
The username you created |
| Database Password | YourPassword123! |
The password you set |
| Table Prefix | pdfpro_ |
Leave as default (recommended) |
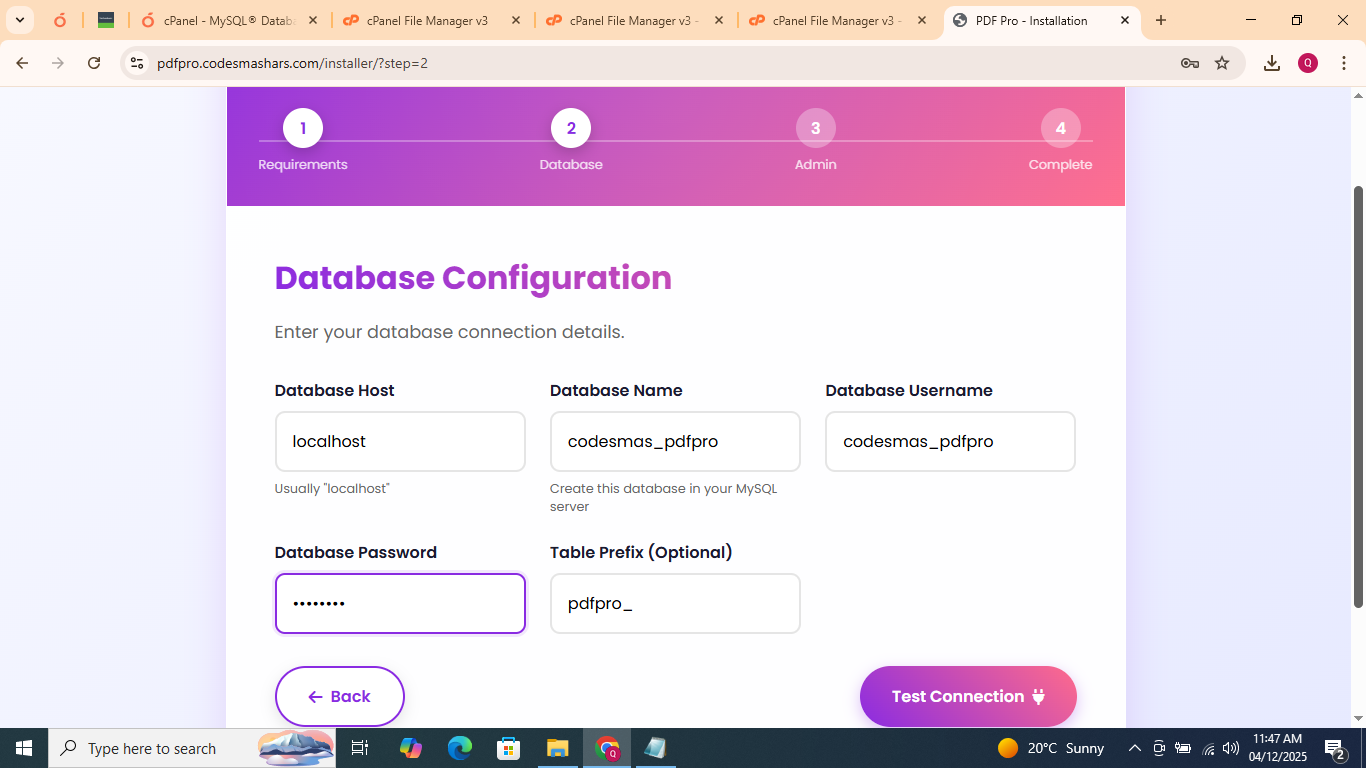
Database configuration screen in the installer
Test Database Connection
Click the "Test Database Connection" button to verify your credentials:

Test database connection to verify credentials
8 Step 5: Site Configuration
Configure Site Settings
Enter your website information:
| Field | Example Value | Description |
|---|---|---|
| Site Name | PDF Pro |
Your website name (appears in browser tab) |
| Site URL | https://yourdomain.com |
Your full domain with http:// or https:// |
| Admin Username | admin |
Your admin login username |
| Admin Email | admin@yourdomain.com |
Valid email for admin notifications |
| Admin Password | StrongAdminPass123! |
Strong password (minimum 8 characters) |

Site configuration screen in the installer
9 Step 6: Complete Installation
Start Installation Process
Click the "Install Now" button to begin installation:

Click Install Now button to start the installation process
The installer will automatically:
- Create all database tables
- Insert 74+ PDF tools with default data
- Create admin user account
- Generate configuration file
- Set up URL rewrite rules
Installation progress screen showing real-time updates
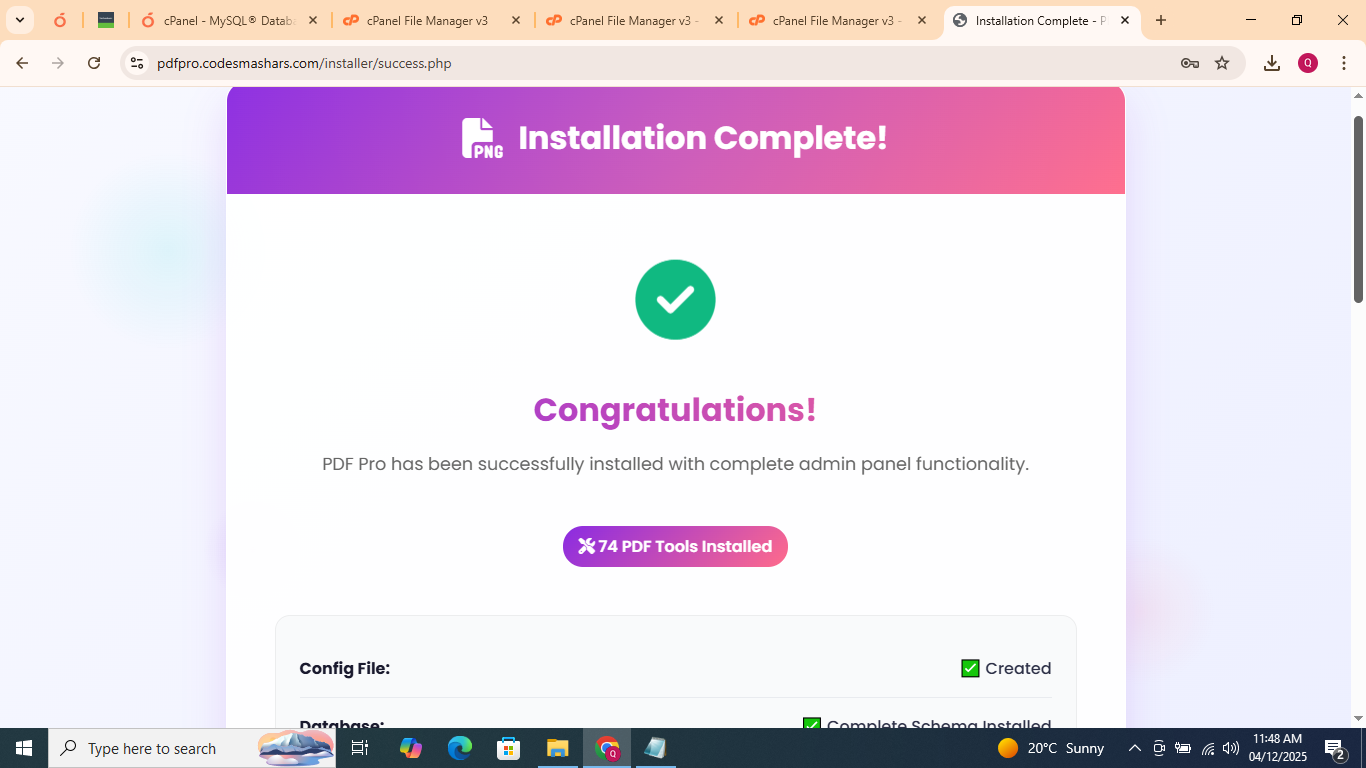
Installation Complete
After successful installation, you'll see:
Your PDF Pro application has been successfully installed.

Installation complete screen with navigation options
You now have two options:
Visit your new PDF Pro homepage with all tools
Access the admin dashboard to manage your site
10 Post-Installation
For security reasons, delete the installer directory immediately after installation:
rm -rf /path/to/your/website/installer/
Or via File Manager:
- Login to your hosting control panel
- Open File Manager
- Navigate to
public_html/installer/ - Right-click and delete the folder
Verify Your Installation
Check these URLs to ensure everything works properly:
| URL | Expected Result |
|---|---|
https://yourdomain.com |
PDF Pro homepage with 74+ tools |
https://yourdomain.com/admin |
Admin login page |
https://yourdomain.com/merge-pdf |
Merge PDF tool page |
https://yourdomain.com/compress-pdf |
Compress PDF tool page |
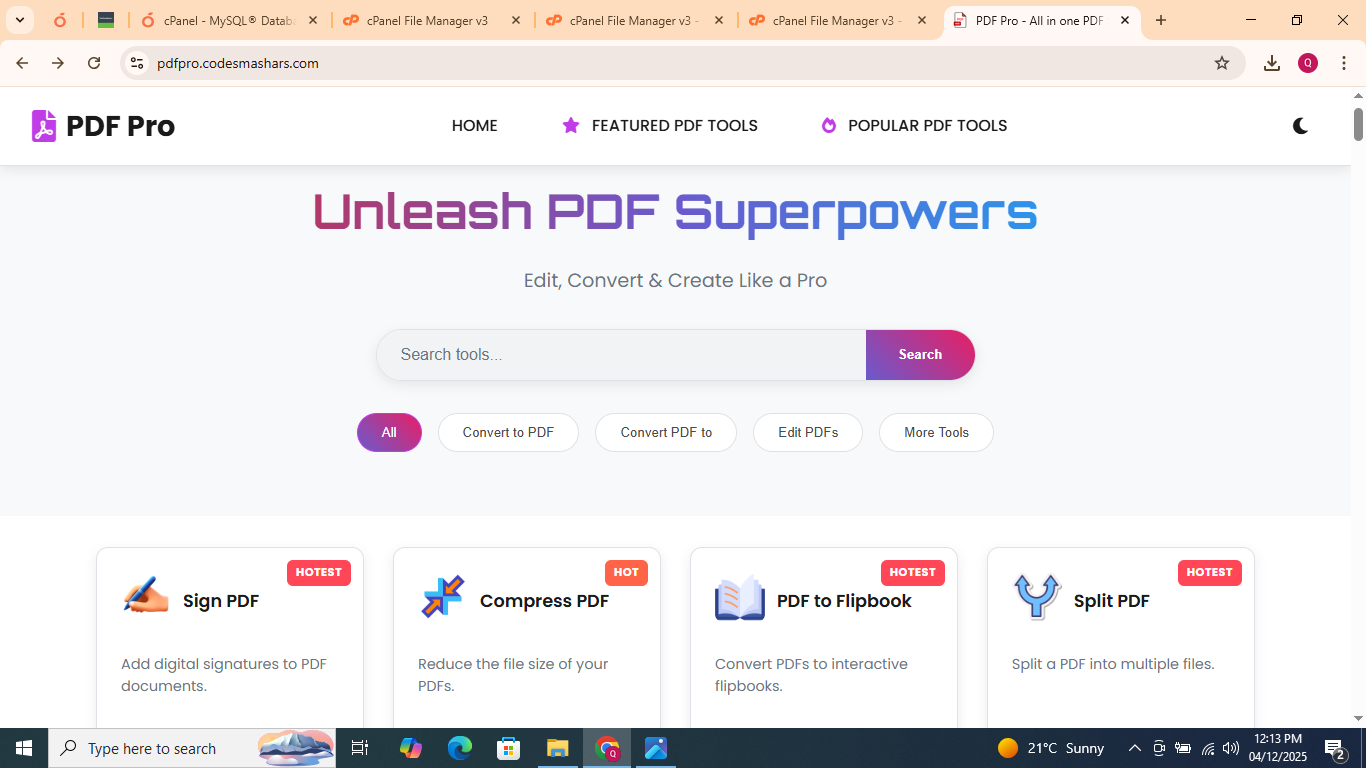
PDF Pro homepage with all 74+ tools
Admin Dashboard
Login to your admin panel to manage your site:
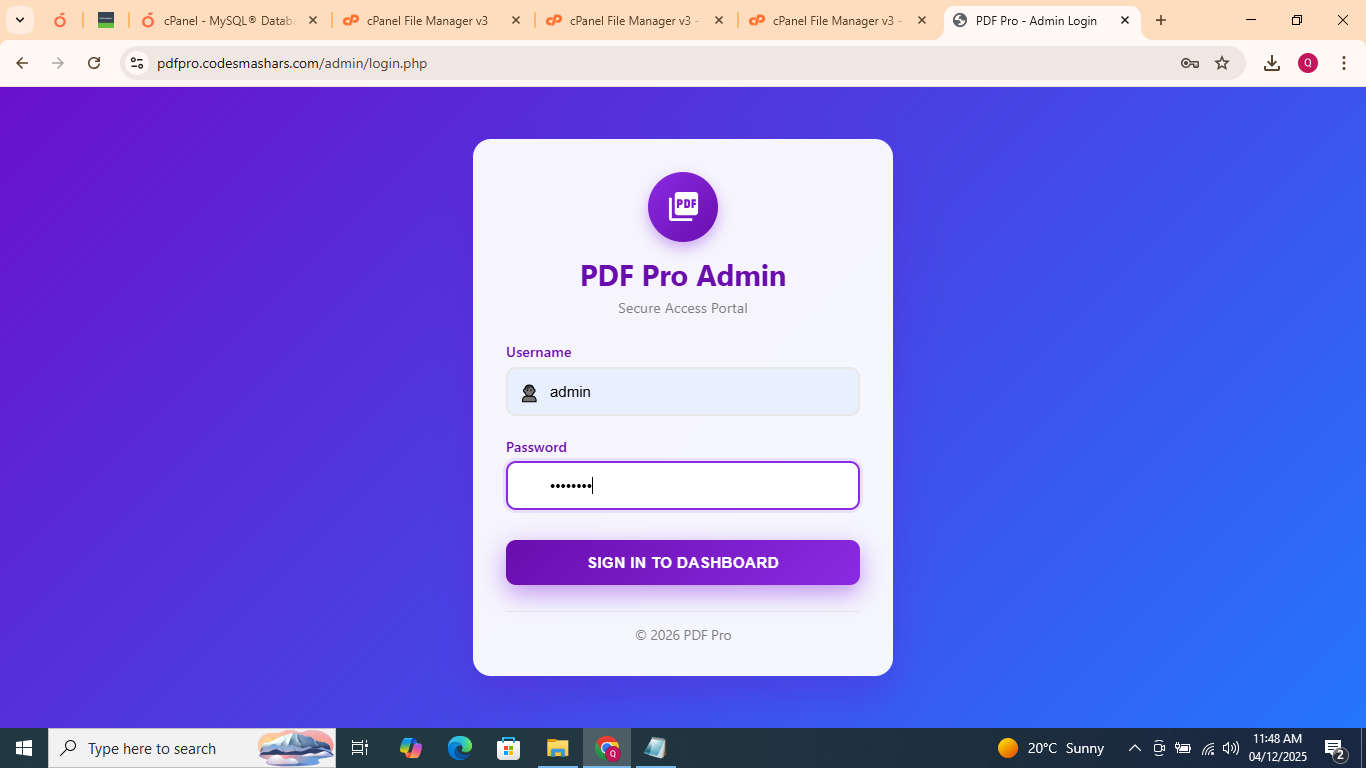
Admin login page - use the credentials you set during installation
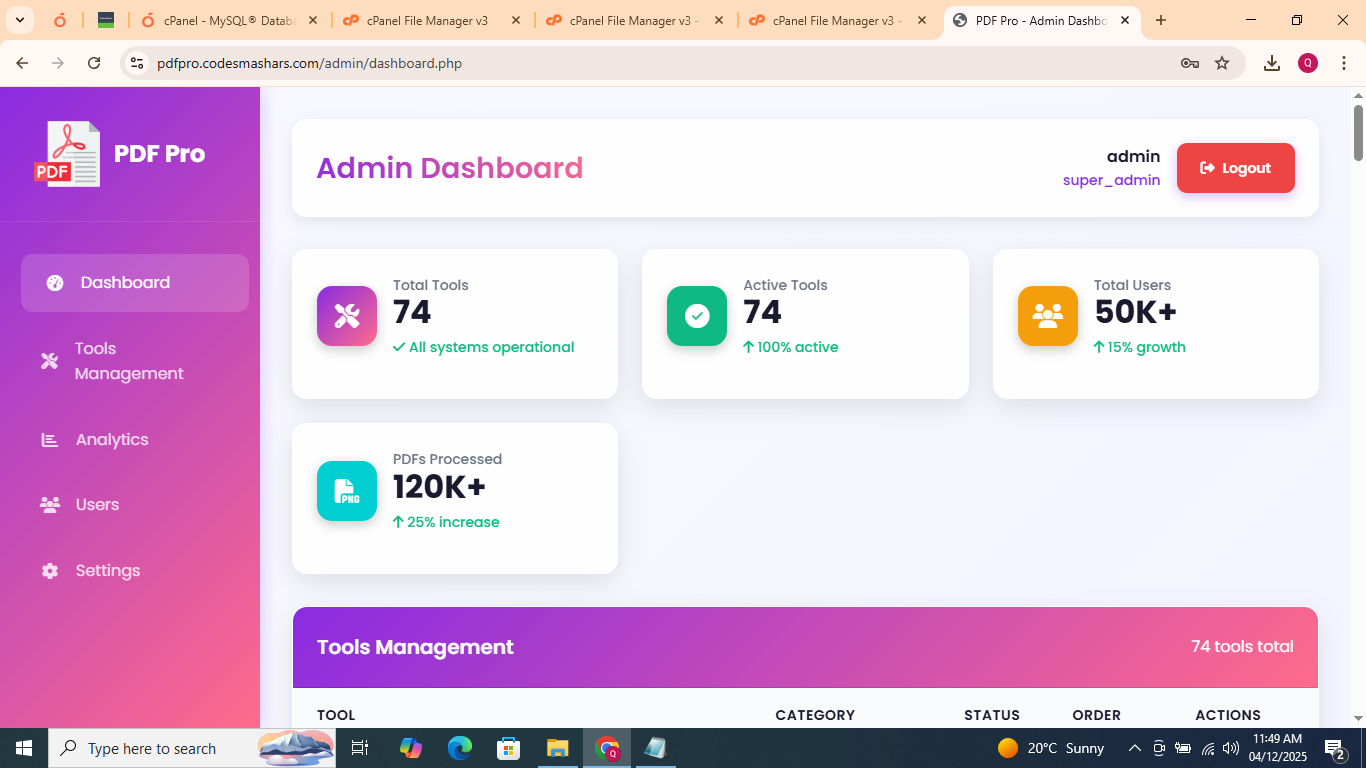
Admin dashboard with tools management and statistics
11 Troubleshooting
| Error | Possible Cause | Solution |
|---|---|---|
| Database Connection Failed | Wrong credentials User has no privileges Database doesn't exist |
Double-check credentials Grant ALL privileges to user Create database first |
| 403 Forbidden Error | File permissions wrong .htaccess issue Hosting restrictions |
Set folders to 755, files to 644 Check .htaccess file Contact hosting support |
| White Screen/Blank Page | PHP error Memory limit exceeded Missing PHP extension |
Enable error reporting Increase memory_limit to 256M Enable required extensions |
| Icons Not Showing | /icons/ folder missing Wrong icon paths Cache issue |
Upload icons folder Check database icon paths Clear browser cache |
| File Upload Not Working | Upload limit too low Permissions issue Wrong upload path |
Increase upload_max_filesize Set uploads/ folder to 755 Check uploads directory path |
1. Error message screenshot
2. Your PHP version
3. Hosting provider name
4. Steps you've already tried
12 Frequently Asked Questions
Q: Can I install PDF Pro on localhost (XAMPP/WAMP)?
A: Yes! Follow the same steps. Use localhost as database host and create database via phpMyAdmin. Perfect for testing before live deployment.
Q: How do I update PHP version on my hosting?
A: In cPanel: Software → MultiPHP Manager. Select your domain and choose PHP 8.0+. Alternatively, contact your hosting support for assistance.
Q: Can I change the site URL after installation?
A: Yes, edit config.php and update the SITE_URL constant, then update the site_url in the site_settings database table.
Q: How to backup my PDF Pro installation?
A: 1. Export database via phpMyAdmin
2. Download all files via FTP
3. Store backups in a secure location (recommended weekly).
Q: Where are uploaded files stored?
A: In /assets/uploads/ directory. Ensure this folder has 755 permissions and is writable by PHP.
Q: How many PDF tools are included?
A: PDF Pro comes with 74+ professional PDF tools including convert, edit, merge, compress, and more!
🎉 CONGRATULATIONS! 🎉
You have successfully installed PDF Pro with 74+ PDF tools!
Start exploring your new PDF processing platform and customize it to your needs!